
What a Home Inspector Looks for in Your Siding (and How to Pass Inspection)
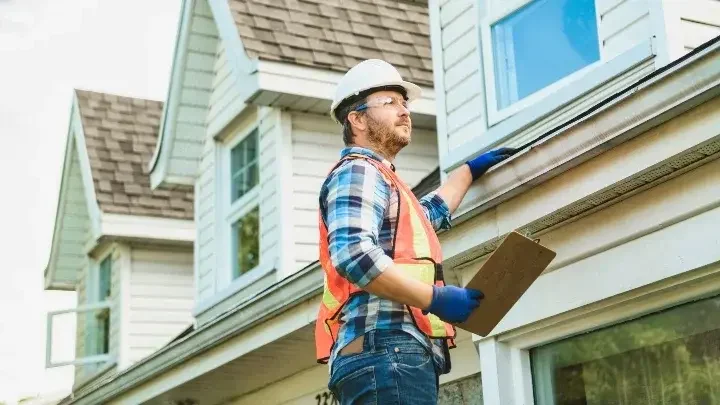
If you listed your home this fall, following the curb appeal advice in our last post on boosting curb appeal before you list, the next milestone once you are under contract is the home inspection. Curb appeal gets a buyer in the door, but the inspection report is what actually determines whether the deal stays smooth or turns into a renegotiation. Here is specifically what inspectors check on siding, based on the standards followed by the two major inspector trade associations, InterNACHI and ASHI.
What Inspectors Are Actually Looking At
According to InterNACHI's own inspection guidance, inspectors examine siding for a fairly specific set of issues depending on material. For vinyl siding, that includes ripples or waves in the panels, which usually point to incorrect installation, nails or screws driven too tightly through the face of the panel rather than left to float in the mounting slot. Inspectors also check that siding properly terminates in J-channel around windows and doors, since gaps here are a common point of water intrusion.
Across materials generally, inspectors are looking for cracked, warped, or missing sections, visible gaps or damage at trim and corners, staining or discoloration that could indicate moisture problems behind the surface, and any signs the siding is not sitting flush against the wall. For masonry veneers specifically, cracks in the brick or mortar joints get flagged as well.
Inspectors also look at what is happening around the siding, not just the material itself. Grading that slopes toward the house instead of away from it, vegetation growing directly against exterior walls, and clogged or damaged gutters all get noted, since these conditions accelerate moisture damage to siding even when the siding itself started out in good shape.
What Shows Up in a Report, and What It Means for You
Inspectors generally categorize findings by severity, something like material, major, minor, or cosmetic. A few hairline cracks in old caulking is a very different finding from active rot or widespread panel damage, and buyers, along with their agents, tend to understand that distinction. The goal is not a perfect, flawless exterior, it is avoiding the kind of findings that make a buyer nervous enough to ask for a price reduction or a repair credit, sometimes for more than the actual cost of fixing the issue yourself beforehand.
How to Prepare Before the Inspector Arrives
Walk your own exterior first, ideally a few weeks before your home goes under contract, and look specifically for the issues listed above, cracks, gaps, staining, and loose or warped sections.
Trim back any vegetation touching your siding, and confirm gutters are clear and downspouts are directing water away from the foundation.
Address small, inexpensive fixes now, cracked caulking, a loose panel, minor trim damage, rather than letting them surface as line items in a buyer's inspection report.
If you are not sure whether something you are seeing is cosmetic or a real concern, a professional opinion before you list is far less stressful than finding out during a buyer's inspection with a closing deadline attached.
If you are getting ready to sell and want a second set of eyes on your siding before the inspector gets there, that is exactly the kind of walkthrough we are happy to do. Visit our siding services page or contact us to schedule a pre-listing inspection.
Sources referenced in this post:
Internal Links Used in This Post:
Boosting Curb Appeal Before You List: Siding Upgrades That Sell (existing blog post)
Siding Services (service page)
Contact (contact page)